How to Change Humidifier Pad: A Simple Step-by-Step Guide
Changing a humidifier pad might sound tricky, but it’s actually simple if you follow the right steps. You don’t need to be a pro or call a technician every time your humidifier stops working well. With a bit of guidance and some common tools, almost anyone can handle this task.
Over the years, I’ve changed humidifier pads in several homes—my own, family, even for friends. Each time, I learned something new. That’s why I want to share my step-by-step advice, so you can do this job easily and safely.
Humidifiers help keep indoor air comfortable, especially during dry winters. But they need regular care. One key part is the humidifier pad. This is the filter that absorbs water and lets air flow through, adding moisture to your home. Over time, pads get dirty, hard, or clogged, which lowers your humidifier’s performance. If you change the pad regularly, you’ll enjoy cleaner air and a healthier home.
Let’s break down everything you need to know about changing a humidifier pad, from understanding when to replace it to tips for making the job easier. I’ll give you real examples, clear steps, and practical advice from my own experience.
Why Changing The Humidifier Pad Matters
The humidifier pad is the heart of your whole-house humidifier. It sits inside the unit, soaking up water, so air passing through gets moist. If the pad is clogged with minerals, mold, or dust, your humidifier won’t work well. You might notice:
- Dry air in your home
- White dust on furniture
- Higher energy bills
- Strange smells
In one winter, I kept wondering why my skin felt so dry, even though my humidifier was running. After checking, I saw that the pad was covered in a hard, chalky layer. Changing it made a big difference overnight. The air felt fresher, and static shocks stopped.
According to the EPA, proper humidifier maintenance prevents bacteria and mold growth, which is vital for healthy indoor air.
How Often Should You Change The Humidifier Pad?
Most manufacturers suggest changing the pad once a year, usually before winter starts. If your water is hard (has a lot of minerals), you might need to replace it twice a year. Some signs you need a new pad:
- The pad looks brown, crusty, or slimy
- You smell musty odors when the humidifier runs
- The humidifier isn’t adding enough moisture
- Air feels dry, even when the system is on
From my experience, homes with pets or smokers need pad changes more often. Pet hair and smoke particles stick to the filter, speeding up wear.
Types Of Humidifier Pads
You’ll find different types of humidifier pads. Most are made from a mesh of metal or paper, coated with clay or other absorbent materials. Some pads are made for specific brands, like Honeywell, Aprilaire, or Bryant. It’s important to buy the right size and shape.
Here’s a quick comparison of common pad materials:
| Pad Material | Durability | Price Range | Water Absorption |
|---|---|---|---|
| Metal Mesh | High | $10-$30 | Good |
| Paper Mesh | Medium | $8-$25 | Very Good |
| Foam | Low | $5-$15 | Moderate |
Most pads last the season, but hard water can shorten their life. I learned this the hard way—my first pad lasted only five months because our local water has lots of minerals.
Tools And Supplies You Need
Changing a humidifier pad doesn’t require special tools. Usually, you’ll need:
- Replacement pad (the right model)
- Screwdriver (often Phillips or flathead)
- Gloves (optional, but helpful)
- Bucket (for old pad)
- Clean towel (for wiping inside)
- Flashlight (if your humidifier is in a dark area)
In my own home, I once forgot gloves. The pad had sharp edges, and I got a small cut. Now I always use gloves, even though it’s a quick job.
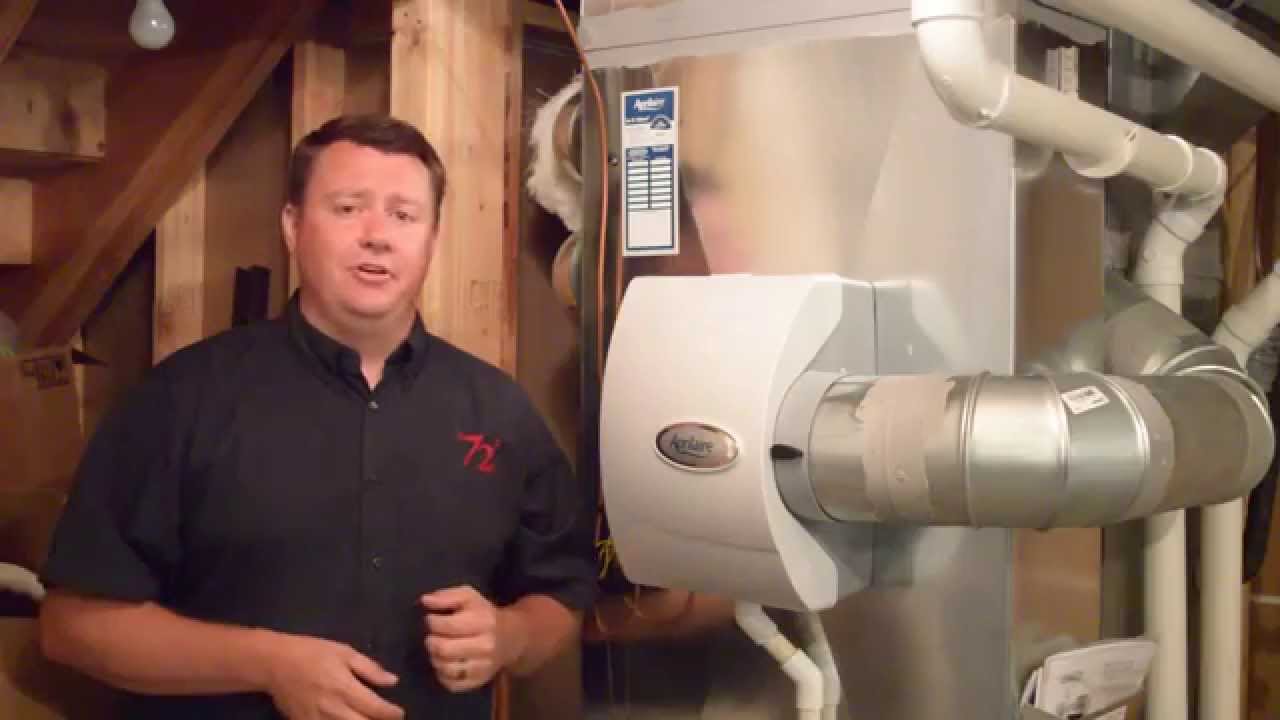
Credit: www.youtube.com
Safety Tips Before You Start
Safety always comes first. Before you open the humidifier, follow these steps:
- Turn off power to the furnace and humidifier.
- Shut off water supply to the humidifier.
- Let the unit cool for at least 10 minutes.
- Read your humidifier’s manual for special instructions.
Never skip these steps. Humidifiers connect to your furnace and water lines, so you don’t want any surprises.
Step-by-step: How To Change A Humidifier Pad
Let’s walk through the process, step by step. I’ll use a typical whole-house humidifier as an example. Most units work the same way, but always check your manual.
Step 1: Locate The Humidifier
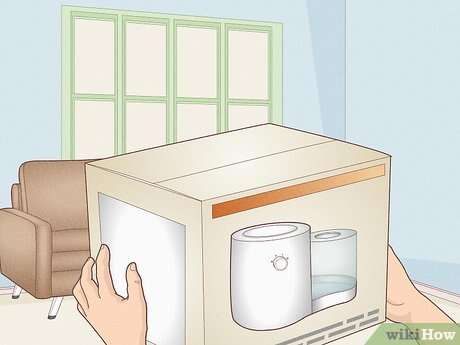
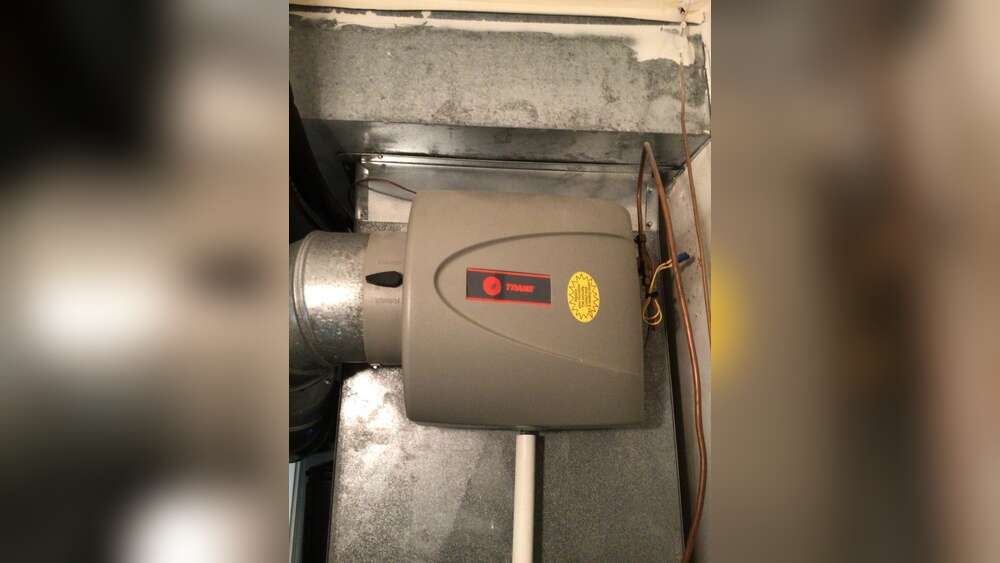
Find the humidifier attached to your furnace. It’s usually a metal or plastic box with a water line. The pad is inside, behind a cover.
Step 2: Remove The Cover
Use a screwdriver to loosen screws or clips. Set the cover aside. If the cover sticks, gently wiggle it. Don’t force it—some covers have tabs that break easily.
Step 3: Take Out The Old Pad
Pull out the pad and its frame. Some pads slide out, others need a twist. Hold the pad over a bucket to catch drips. Inspect the pad. Is it hard, brown, or covered in white dust? That means it’s time to replace.
Step 4: Clean The Housing
Wipe inside the humidifier with a damp towel. Remove any loose dust or mineral buildup. This helps the new pad last longer.
Step 5: Install The New Pad
Fit the new pad into the frame, matching the old pad’s orientation. Some pads have arrows to show which way is up. Make sure the water distribution tray sits above the pad. If your humidifier uses a float, check that it moves freely.
Step 6: Reattach The Cover
Put the cover back on and secure it with screws or clips. Double-check for a tight seal—loose covers can cause leaks or reduce efficiency.
Step 7: Restore Power And Water
Turn the water supply and power back on. Run the humidifier for a few minutes. Listen for any strange sounds. Watch for leaks.
Step 8: Test Operation
Check the humidity level in your home after a few hours. If the air feels comfortable and the humidifier is running quietly, you did it right.
Here’s a simple comparison of how a humidifier works before and after changing the pad:
| Before Pad Change | After Pad Change |
|---|---|
| Low humidity, dry air | Comfortable humidity |
| Musty smells | Fresh air |
| High energy use | Efficient operation |

Credit: www.youtube.com
Common Mistakes And How To Avoid Them
Changing a humidifier pad is easy, but there are mistakes people often make. Here are a few, plus ways to prevent them:
- Buying the wrong pad: Always check the model number. Pads come in many sizes. If you’re unsure, bring the old pad to the store.
- Skipping cleaning: Dust and minerals in the housing can clog the new pad quickly.
- Forgetting to turn off power: This is dangerous. Always shut off power and water before starting.
- Not checking for leaks: After installing, watch for drips or puddles. Leaks can damage your furnace.
- Installing upside-down: Pads have a correct orientation. Look for arrows or instructions.
A friend once installed the pad upside-down. The humidifier leaked all over the basement, causing water damage. Double-check your work to avoid this.
Troubleshooting After Changing The Pad
Sometimes, things don’t go smoothly. If your humidifier isn’t working after changing the pad, try these steps:
- Humidifier won’t turn on: Check that power and water are restored. Make sure the cover is sealed.
- Low humidity: Test the humidity sensor. If it’s faulty, your unit may not run.
- Leaking water: Inspect the water line and tray. A loose connection can cause leaks.
- Strange noises: Pads installed incorrectly can cause rubbing or rattling. Remove and reinstall.
If you still have trouble, check the manual or call a technician. But most problems are simple fixes.
How To Extend The Life Of Your Humidifier Pad
You can help your pad last longer with a few easy steps:
- Use filtered water if possible. This reduces mineral buildup.
- Clean the humidifier housing every few months.
- Check the pad for buildup monthly, especially in areas with hard water.
- Keep pets away from the furnace room. Fur can clog filters.
I once used a water softener in my home. It made the pad last almost twice as long. If you live in a hard water area, this is worth considering.
Signs Your Humidifier Needs More Than A Pad Change
Sometimes, changing the pad isn’t enough. Look for these signs:
- The humidifier smells bad after a new pad is installed.
- Water pools under the unit, even after checking connections.
- The unit is noisy or doesn’t turn on.
- Humidity levels don’t improve after a few days.
These may mean you need to clean other parts, replace the water solenoid, or call for service.
Costs And Savings Of Changing The Humidifier Pad Yourself
Changing your humidifier pad yourself saves money. Let’s look at the numbers:
| DIY Change | Professional Service |
|---|---|
| $8-$30 for pad | $80-$150 for service |
| 15-30 minutes | Appointment, 30-60 minutes |
| Flexible timing | Wait for technician |
Doing it yourself is faster and cheaper. You also learn more about your home’s systems, which helps in future repairs.
Real-life Example: My First Humidifier Pad Change
The first time I changed a humidifier pad, I was nervous. The furnace looked complicated, and I worried about breaking something. I followed the steps: turned off power and water, removed the cover, and took out the old pad. It was covered in white mineral dust. Installing the new pad took only five minutes. After turning everything back on, the humidifier worked perfectly. The air felt comfortable, and my family noticed the difference.
I made one mistake—I forgot to clean the housing. The new pad got dirty faster than expected. Now, I always wipe the inside before installing a new pad.
How To Choose The Right Replacement Pad
Choosing the right replacement pad is important. Here’s what to check:
- Model number: Look for this on the humidifier or old pad.
- Size: Pads come in different lengths and widths.
- Material: Metal mesh lasts longer but costs more.
- Brand: Some brands only fit their own units.
If you’re unsure, ask the store staff or check the manufacturer’s website. I once bought the wrong size—too small. It didn’t fit, and I had to return it. Double-check before buying.
Benefits Of Regular Pad Changes
Changing the humidifier pad gives many benefits:
- Healthier air: Removes mold, bacteria, and allergens.
- Lower energy bills: The humidifier runs more efficiently.
- Longer life for the unit: Clean pads prevent rust and damage.
- Comfortable living: No more dry skin, static, or sore throats.
These benefits make the small effort worthwhile. A humidifier with a fresh pad can improve your whole home.
How To Dispose Of The Old Pad
Old pads can be messy. Here’s how to handle them safely:
- Wear gloves to protect your hands.
- Place the old pad in a plastic bag.
- Throw it in the trash—most pads are not recyclable.
- Wash your hands afterward.
Some areas have special disposal rules. Check with your local waste service if you’re unsure.
Tips For Different Humidifier Models
Most whole-house humidifiers use similar pads, but some models have special features:
- Bypass humidifiers: The pad sits in a tray. Make sure the tray is clean.
- Fan-powered humidifiers: The pad is larger and may need a special frame.
- Drum humidifiers: The pad wraps around a rotating drum. Replace carefully.
Always check your manual. Some units have hidden screws or clips.
Using Technology For Better Maintenance
Smart thermostats can help you track humidity and maintenance. Some models send alerts when it’s time to change the pad. This is useful if you forget.
I use a smart sensor in my home. It tracks humidity and reminds me when the pad needs changing. This saves guesswork.
Environmental Impact Of Humidifier Pads
Most pads are made from safe materials. But used pads can carry mold or bacteria. Proper disposal is important. Avoid flushing pads or dumping them in nature.
If you want to reduce waste, look for pads made from recycled materials. Some brands offer eco-friendly options.

Credit: www.reddit.com
What If You Don’t Change The Pad?
If you skip changing the pad, you risk:
- Mold and bacteria growth
- Higher energy costs
- Poor air quality
- Furnace damage
I once forgot to change the pad for a whole winter. The humidifier stopped working, and the air felt dry. After changing the pad, everything improved.
Where To Find More Information
If you want expert advice or need a replacement pad, check official resources. The EPA offers helpful guidelines for home humidifier maintenance. For more details on humidifier pad types and care, visit Wikipedia.
Frequently Asked Questions
How Do I Know Which Humidifier Pad To Buy?
Check your humidifier’s model number. Look for this on a sticker or in the manual. Most pads list compatible models on the package. If you’re unsure, bring the old pad to the store for comparison.
Can I Clean And Reuse A Humidifier Pad?
Most pads are not designed for reuse. Cleaning can damage the material or leave mold behind. It’s safer to replace the pad every season. Some reusable pads exist, but they’re rare and need careful cleaning.
What Happens If I Forget To Change The Pad?
The humidifier will work less efficiently. You might get mold, musty smells, dry air, or even damage to the unit. Regular pad changes prevent these problems.
Is It Safe To Change The Pad Myself?
Yes, as long as you follow safety steps. Turn off power and water, wear gloves, and read your manual. The job is simple and only takes about 30 minutes.
Does Changing The Pad Help With Allergies?
Yes. A fresh pad removes mold, dust, and bacteria, improving air quality. This helps reduce allergy symptoms in your home.
Changing a humidifier pad is one of those simple home jobs that pays off quickly. It keeps your air fresh, saves money, and protects your health. With the steps and tips shared here—and a bit of my own experience—you can do it yourself confidently.
Remember to check your pad regularly, follow safety steps, and enjoy the comfort of a well-maintained humidifier all year round.